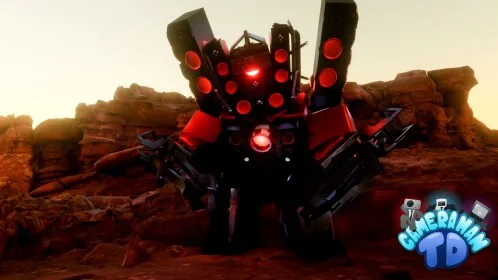
Why Solo Hard Mode Is the Ultimate Test of Skill
Conquering solo hard mode in Cameraman Tower Defense serves as the primary benchmark for tactical mastery. While cooperative play offers a safety net through shared labor and combined firepower, solo runs require absolute precision in resource management and unit synergy. In this mode, developers at Aligators Games have significantly increased enemy health and movement speeds, transforming standard defensive layouts into complex puzzles that require a fundamental shift in how you handle waves.
Mastering this challenge is not merely about having the strongest units; it is about understanding how to scale your economy while maintaining map control. Community reports indicate that players who fail often over-invest in early-game units that quickly lose relevance. To succeed, you must adopt a transition-based mindset, balancing immediate defense with long-term economic growth.
Essential Unit Archetypes for Your Loadout
To survive the late-game onslaught, your loadout must cover every tactical necessity. Relying on a single type of unit is a recipe for defeat, as harder waves introduce specialized enemies that demand specific responses.
Splash Damage
Essential for crowd control; these units clear swarms during mid-game waves when enemy density spikes.
Single Target DPS
Crucial for boss mitigation. These are your primary heavy hitters for the final waves of the match.
Eco/Generator
The backbone of your run. Placing these early is non-negotiable for funding high-tier upgrades later.
Anti-Air
Mandatory for flying bosses. Neglecting these often results in a "leak" that ends your run prematurely.
Utility/Freeze
Situational but powerful; used to slow enemies down, maximizing the time they spend in your high-damage zones.
Step-by-Step Execution Strategy
Efficiency is the core requirement for solo play. If you fall behind on your economic growth during the first ten waves, the increased density of enemy spawns in hard mode will eventually overwhelm your defenses.
- Phase 1 (Waves 1-15): Focus exclusively on your economy. Place 3–5 economy towers in the most secure, protected areas of the map. Spend only the bare minimum on defense required to prevent leaks.
- Phase 2 (Waves 16-30): Execute the "build-and-sell" transition. Begin replacing starter units with high-tier towers. By wave 25, you should have at least one max-level AoE unit covering the primary path.
- Phase 3 (Waves 31-50): The final stand. This phase requires micro-management. Rotate your freezing units to ensure bosses stay trapped within the range of your high-DPS towers for the maximum duration.
Advanced Techniques for Pro Players
To reach the top of the leaderboards, basic placement isn't enough. Many seasoned players rely on specific positional advantages to squeeze every drop of value out of their towers.
- Cornering Strategy: Place high-damage units on the inside of map corners. Because enemies are forced to follow the track, this maximizes the time they spend within your units' attack radius.
- The "Freeze-Lock" Technique: Position low-cost freezing units at the very beginning of the track. By stacking these with high-damage towers immediately following them, you create a "kill zone" that keeps enemies immobilized while they sustain constant damage.
- Range Stacking: Prioritize units that provide range buffs. Even small increments in range allow your defense to engage threats before they reach your perimeter, preventing them from grouping up near your exit.